
Ensuring Your Flat Rooflight Is Installed Correctly
Here at Roof Maker, we are dedicated to making products that can be installed with a minimum of difficulty, which is why we say that if you are pretty handy at DIY, you should be able to install one of our rooflights yourself with the help of a friend or two. It’s one of the reasons why we created our Technical Document Hub and filled it with useful product guides.
This blog – which is designed to complement our technical guides and our Fixed Flat Rooflight installation video ( links included at the end of this post) – focusses on why it’s so important to install flat rooflights with the correct pitch or fall.
Overcoming the potential issue of water pooling
To ensure maximum durability and sturdiness, our Fixed Flat Rooflights are constructed with 6mm toughened glass, which is a heavy material. Now the potential problem this creates is that the glass can ‘flex’ slightly under its own weight, causing it to bow very slightly towards the centre of the rooflight where it is unsupported by the frame. While this bowing is completely unnoticeable to the naked eye, it can end up leading to water pooling on the rooflight when it rains.
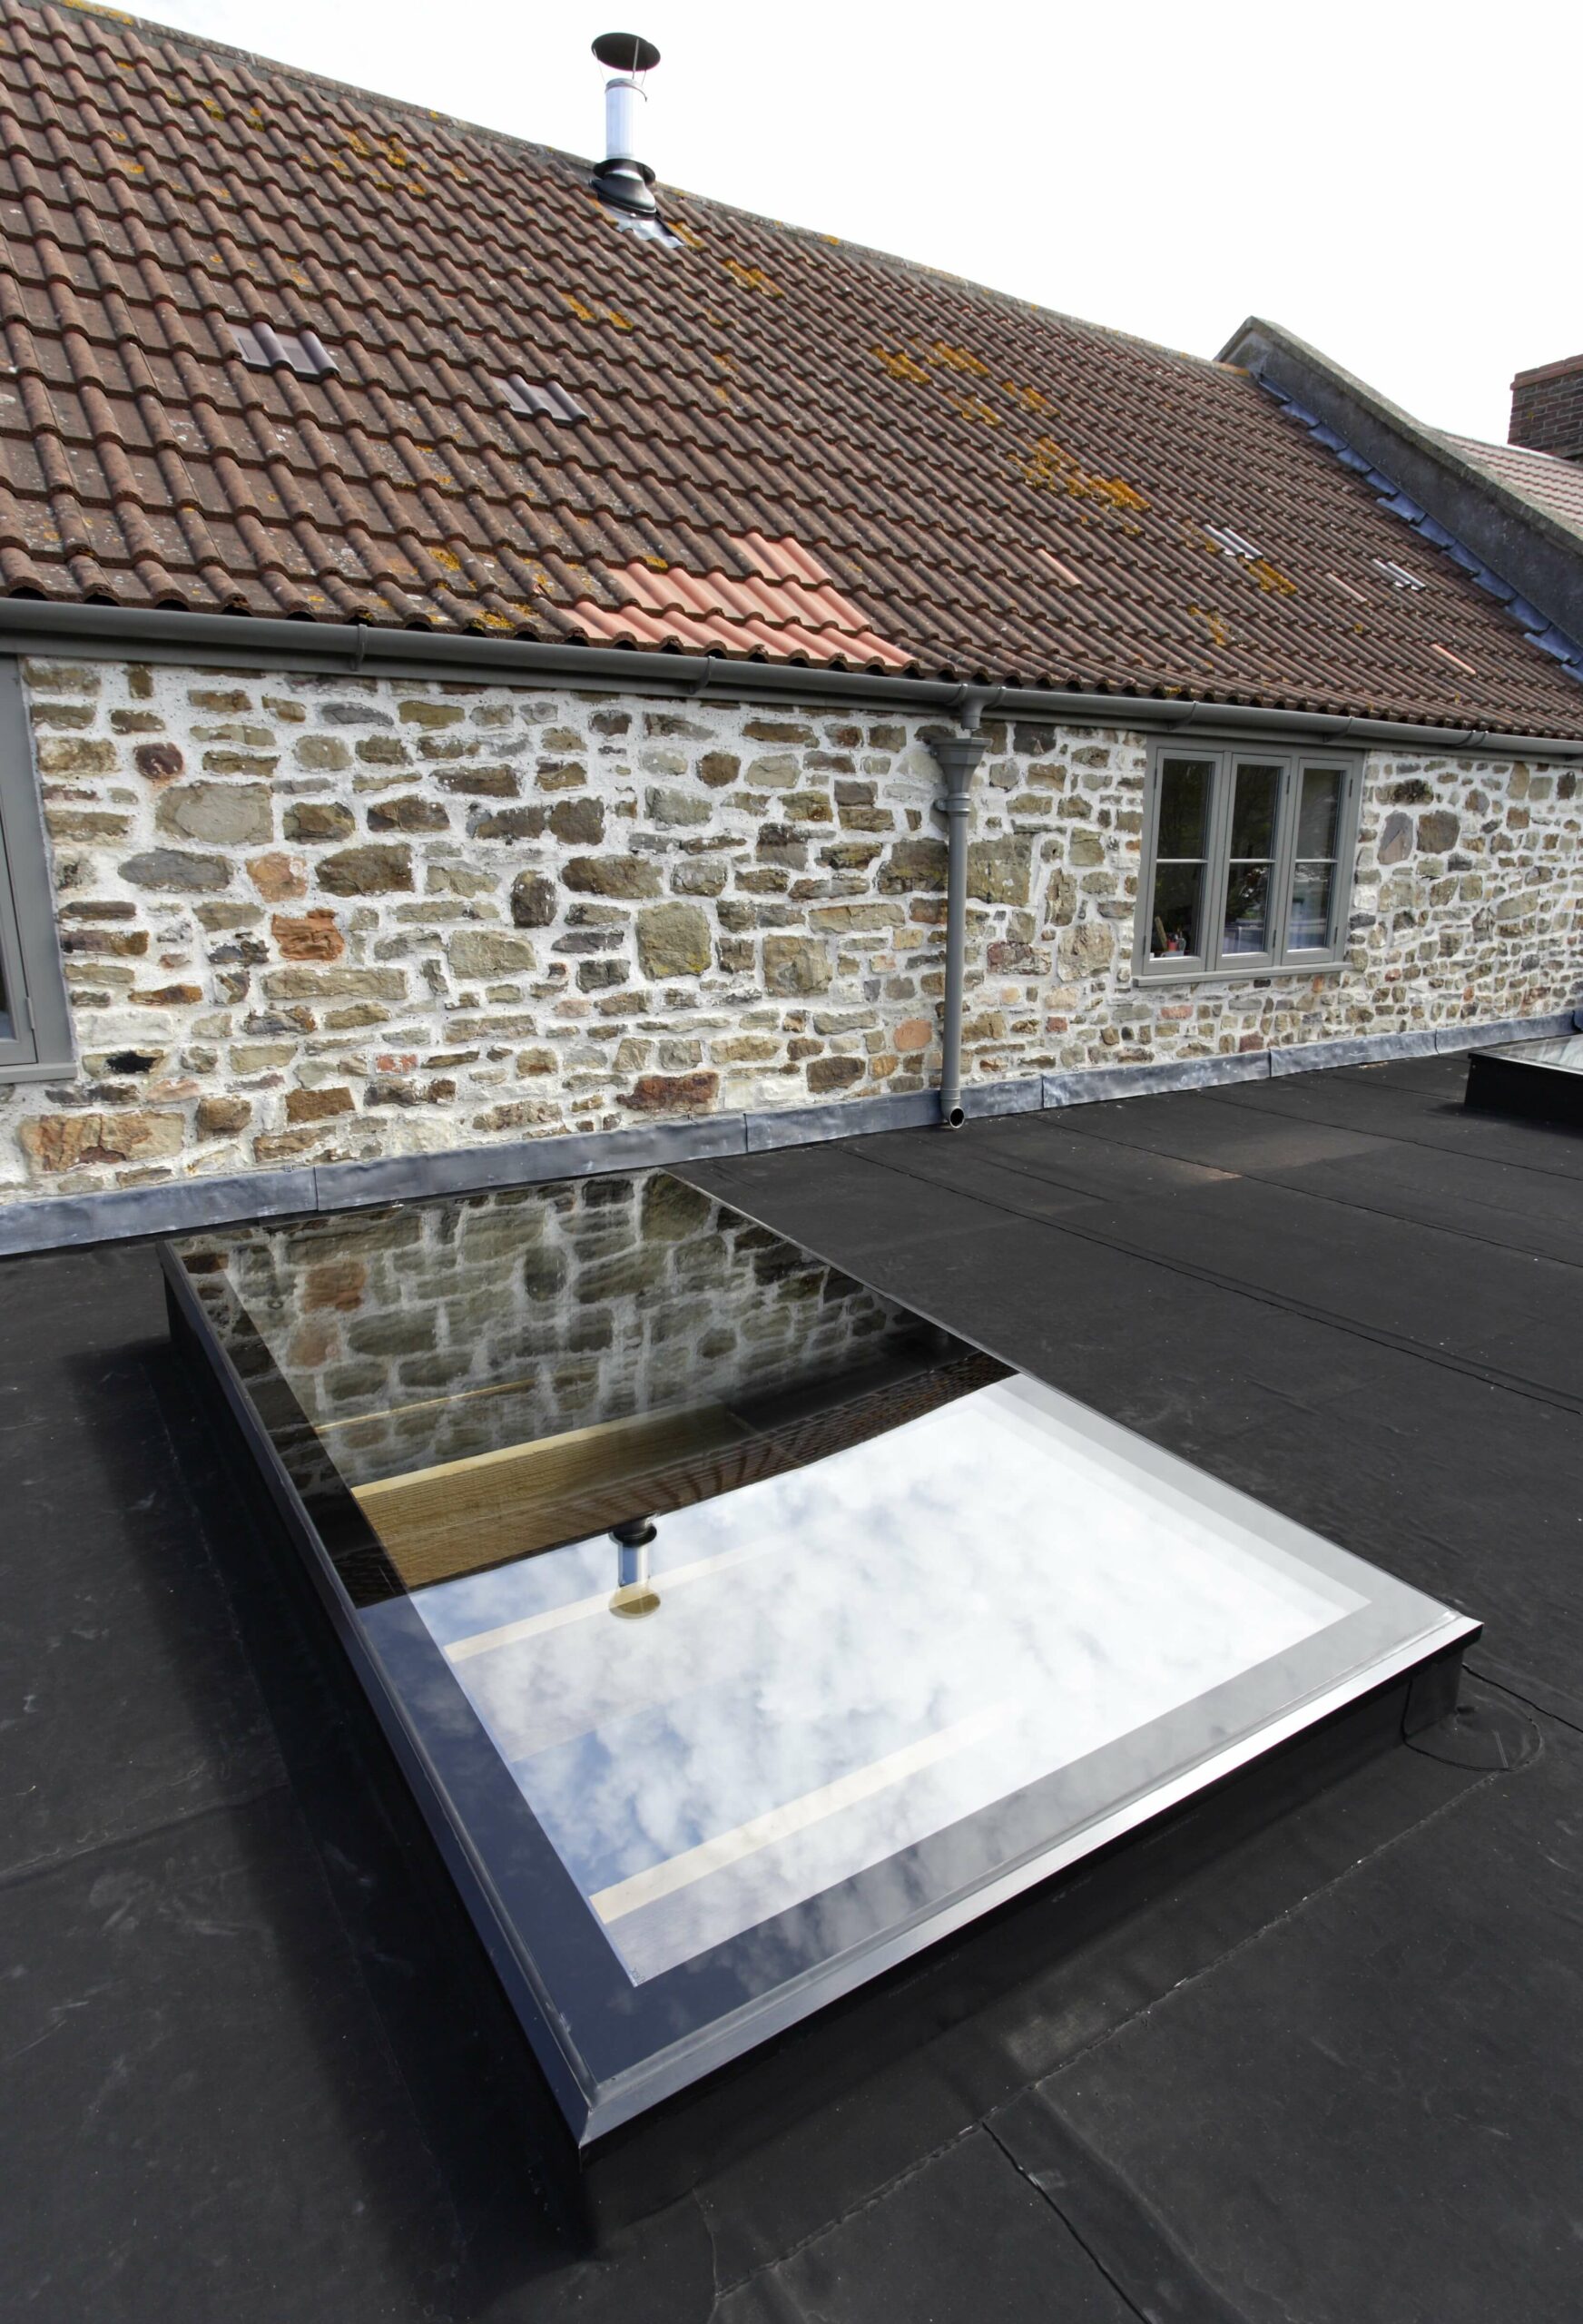
To overcome this and prevent any form of pooling when it rains, we always recommend that our Fixed Flat Rooflights are installed with a minimum 5-degree pitch. This enables rainwater to easily run off onto the roof and not cause any issues.
Fortunately, the correct pitch is easy to achieve
Now the good news is that if your roof doesn’t already have the required 5-degree pitch, it can be created quite easily using a timber kerb. You can either purchase one of our ready-made builders’ kerbs to save you the time and effort involved with creating one or go down the DIY route. If you choose the latter, please be sure to create your timber kerb in accordance with our advice outlined in the installation video at the end of this post. Once installed at the correct angle, you can proceed to flash the rooflight with your roof membrane, which acts as the final stage of weatherproofing.
Please be advised that the maximum angle that our fixed flat rooflights can be installed is 15 degrees, with the exception of our wall abutment rooflights, which have a maximum angle of 10 degrees. Our roof lanterns for flat roofs do not require an angle of 5 degrees to achieve water runoff. That’s because their sides are already angled to allow for this. So when installing a roof lantern, we advise you to make your timber kerb level instead.
Hopefully, this short post has given you a bit more confidence and the information you need to install your Fixed Flat Rooflight. However, if for any reason you aren’t certain about an aspect of the installation, or don’t feel confident carrying out the work yourself, please do enlist the services of a professional, reputable builder.
For more information, head to our Technical Document Hub and select the applicable pdf for the rooflight you have ordered and/or contact our technical team on 0116 269 6297.
Finally, our handy Fixed Flat Rooflight installation video below will give you some more important pointers: